In a previous article I described how to install the pre-requisites for BigFix v8.1. In this article I’ll demonstrate the process for installing the root server and attaching it to a previously existing database. I’ll be following the How to guide created by BigFix corp (KB133) to migrate my old BigFix physical computer to a freshly installed BigFix virtual computer.
I encountered some major problems with this process… so follow along but remember this is not a perfect migration.
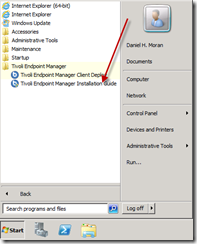
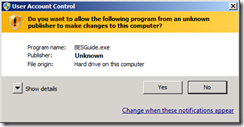
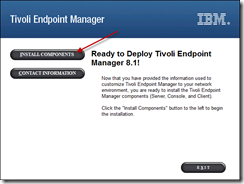
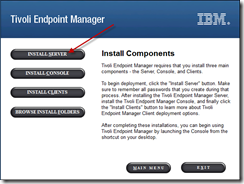
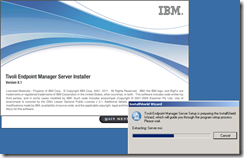
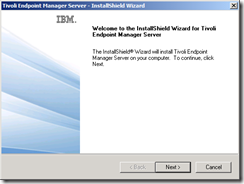
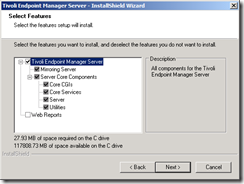
I will be using this virtual as a root server only. My web-reports service will be setup virtual to keep the installations and the processes of upgrading as simple as possible. So… I unchecked the Web Reports option during the features selection part.
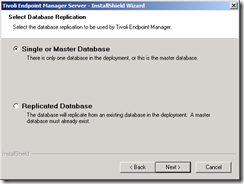
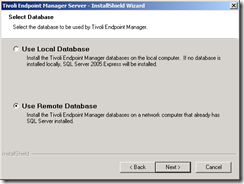
My SQL server is a separate system, so I had to specify the “Remote Database” option and on the next window give the details of connecting to the DB.
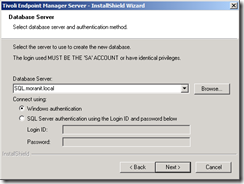
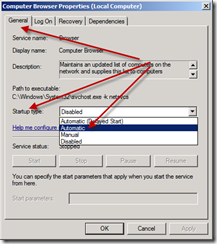
While specifying the SQL server, it needed to utilize the Computer Browser service. This service was stopped and/or disabled on my virtual by default.
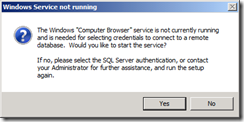
The service was disabled, so I will need to manually enable it so the installer can start it up for use.

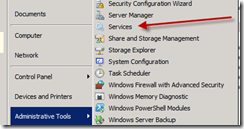


Now, back to the installation…
hitting ok to the error, I hit Next again and answered Yes and all went well… we’re back on track…

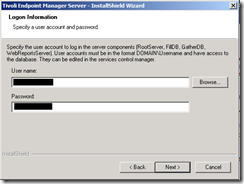
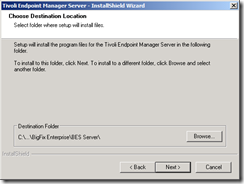
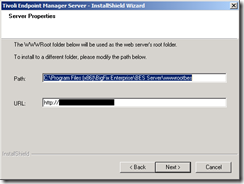
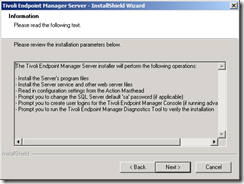
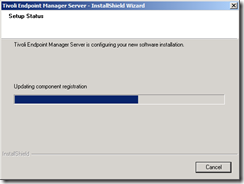
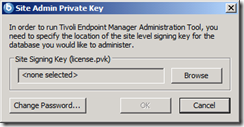
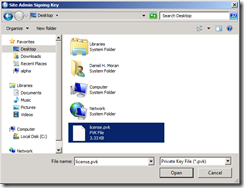
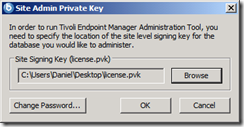
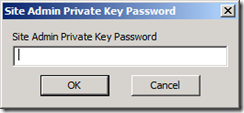
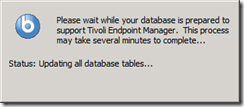
I am utilizing a database that was moved from a previous instance of this license. Thus many of my logins were already added to the database. So there is no need to modify this…
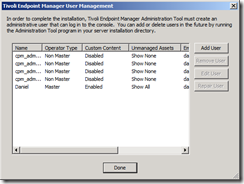
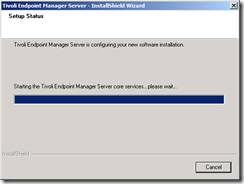
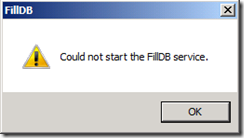
Looks like during the startup process I ran into a little problem. My FillDB service would not start.
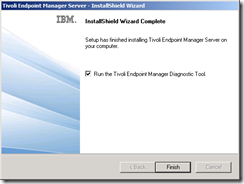
Just finish up the install and cancel out of the diagnostics part, we’ll come back to it later. (since filldb failed to start, expect to see lots of errors)
A quick look back at the Services MSC showed the Root Server also failed to start, however the Gather Service and GatherDB started just fine. This points me to the either database connectivity or a permissions as the cause of their startup failures.
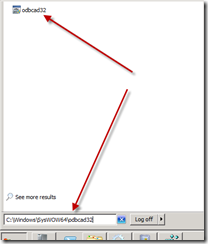
First I’ll launch the 32bit version of ODBC to confirm connectivity with the database. C:\Windows\SysWow64\odbcad32.exe
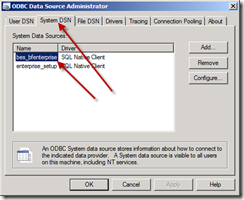
I don’t need to change anything, just want to test connectivity. This function is on the last form and the “Finish” button is a shortcut there…
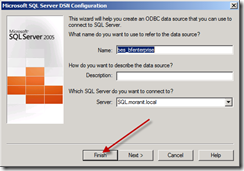
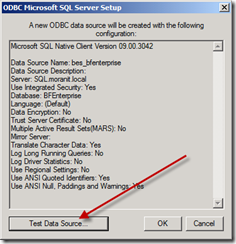
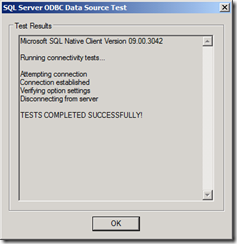
This shows that my DB connectivity is working through the firewalls that are configured… so I’ll ignore them.
Let’s look into permissions. One of the most important permissions your service account requires is admin permissions to the server you’re running the root server on. This will allow it access to the Program Files and other special directories. Let’s start there… and test.
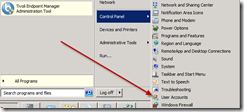
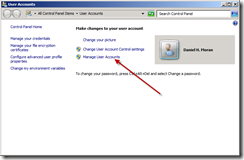
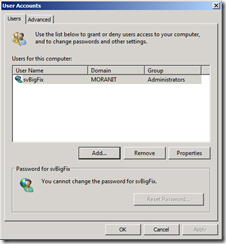
I don’t see my BigFix service user account listed, so we’ll have to add it.
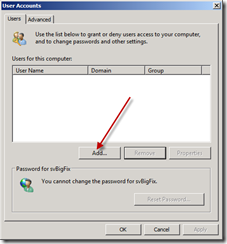
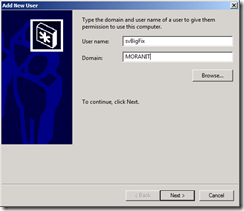
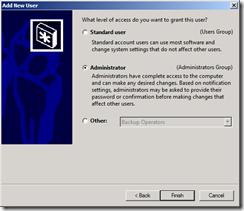
There it is… now let’s try to start up our failed services… FillDB and Root Server
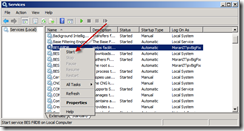
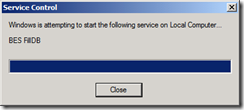
IT WORKED!!! Excellent, next I started the Root Server which also worked. Let’s turn our attention to validation of our installation.
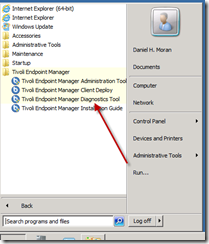
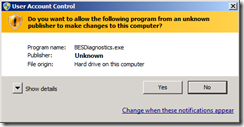
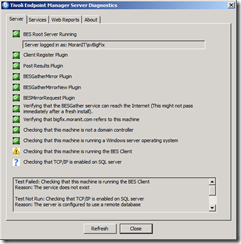
So far so good… let’s take a quick look at our log files to confirm everything is functioning properly…
Two files I’ll be interested in is the BESRelay.log and the FillDBData\FillDB.log these reside under the Root Servers path… “C:\Program Files (x86)\BigFix Enterprise\BES Server”.
Due to this being a pre-existing database these errors were expected…

I’ll first stop all of the services so I can complete step 9 on the How to guide (KB133).

Step 9 says to copy the following folders from the old server to the new server:
BigFix Enterprise\BES Server\wwwrootbes
BigFix Enterprise\BES Server\ClientRegisterData
BigFix Enterprise\BES Server\Mirror Server\Inbox
Using a little Robocopy magic… I’m done with this step in.. 2 hours!
Started the services back up and no go… grrrr what was up?
After a lot more research I came across KB215 which discussed the details of “Using NT Authentication with Domain Users or User Groups”. On step 2 was my answer… my domain service account did not have SA authority in the database.
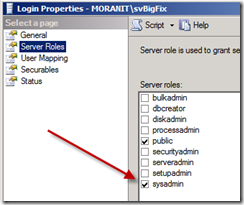
Added the required permission and restarted my services… and I’m done!
Let’s do a little bit more validation…
Validation Part 1
Back to the logs mentioned above… no errors… this is a good sign!
Validation Part 2
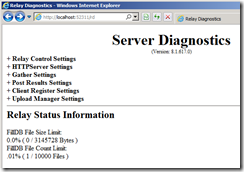
Visit http://localhost:52311/rd for some simple server diagnostics like filldb status, actionsite status as well as downloads status…
Validation Part 3
Launch the BES Console, ensure you can connect into the DB and see computers checking in properly…

What I’ve learned from this process is pretty simple… you only need a few items in order to completely re-create your infrastructure if something bad happens.
1. (3) folders…
a. BigFix Enterprise\BES Server\wwwrootbes
b. BigFix Enterprise\BES Server\ClientRegisterData
c. BigFix Enterprise\BES Server\Mirror Server\Inbox
2. Database
3. Masthead & auth keys (license.pvk and user keys)
4. Installer which is available at the BigFix website.
If you have any questions or comments, please leave them below!


![image_thumb[16] image_thumb[16]](https://danielheth.com/wp-content/uploads/2011/12/image_thumb16_thumb.png?w=244&h=184)


