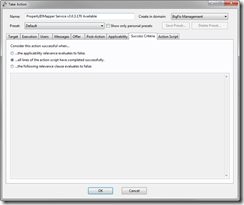
The Tivoli Endpoint Manager is a fantastic way of controlling your infrastructure from one central location. One of the most basic skills is activating a task and direct it to do something on an endpoint. Here is a step-by-step for activating a task to perform an action on an endpoint.
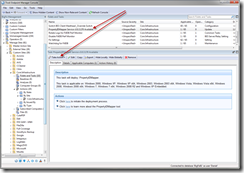
First find the task you wish to activate, in my example I will be installing a service onto one of my root servers. Select the task to be activated and click the Take Action button…
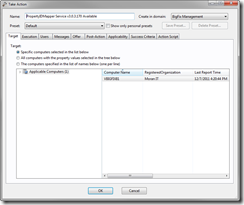
Here is our targeting screen… Since I’ll only be installing this service onto one endpoint, I’ll simply select it out of the right side computer list. I could just as easily choose the second radio button called “All computers with the property…” which allows me to target based on endpoint properties, or even “The computers specified in the list…” which allows me to type endpoint hostnames in one line per endpoint. Note that the third option should be limited to <100 endpoints. If you need to target more than that you should utilize the computer groups feature.
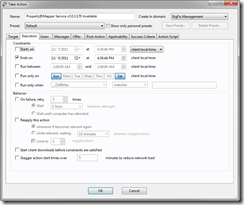
I’m very happy with the defaults on this particular task, however the Execution tab will allow me to start a task at a particular time, have it run between certain hours and even control the failure/retry activities of this task. Try not to restrict these options to much… for example, you wouldn’t want to limit the run between to 10min since the larger your infrastructure the more difficult or impossible that will be to happen.
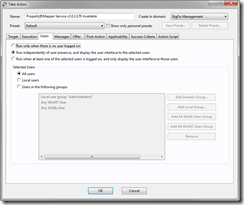
In some cases your action will interact with end users and you may need to prevent the action from running if no user is logged in. The following Users tab allows you to constrain the task to only run with certain users…
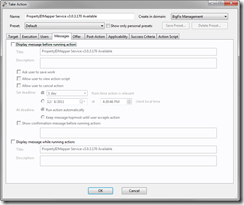
Other cases you’ll want to present messaging to the end user or even allow the user to control the processing of this particular action. Maybe you’ll allow the user to determine when the most convenient time for them to have a particular action occur. This screen is used for that purpose…
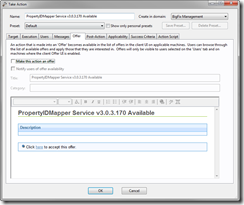
Here we have the screen to Offer the user this optional action…
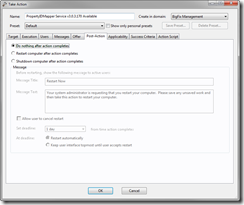
What if your action requires a restart, and you want to allow the end user delay the restart till it’s convenient for them.
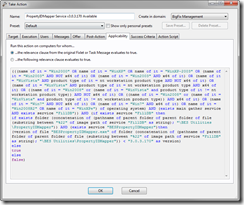
Rarely will you need to change the Applicability tab. Occasionally I find it necessary to alter the default behavior of an action on a one time basis. This tab allows me to force the installation of something ignoring the default applicability relevance of the original task.
If I’ve modified the applicability relevance, I’ll need to modify the success relevance as well…
Lastly we have the ability to modify the default Action Script of this task. 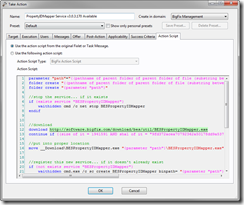
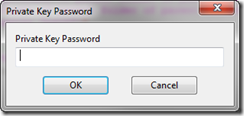
Once you’re all done modifying the action… click the OK button at the bottom and you’ll be asked for your credentials. (FYI: This is no longer the case in v8.2 unless you upgraded from a previous version or you enabled this validation step)
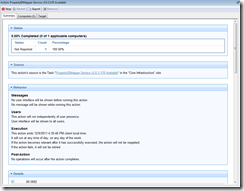
Our task is now activated and the action status window appears. Here we can monitor the progression of our action to each of the endpoints… on the Computers tab we can see status details on individual computers.
If you have any questions or comments, please leave them below!
